|
Installation for 4:12 pitch and above w/ extended exposure:
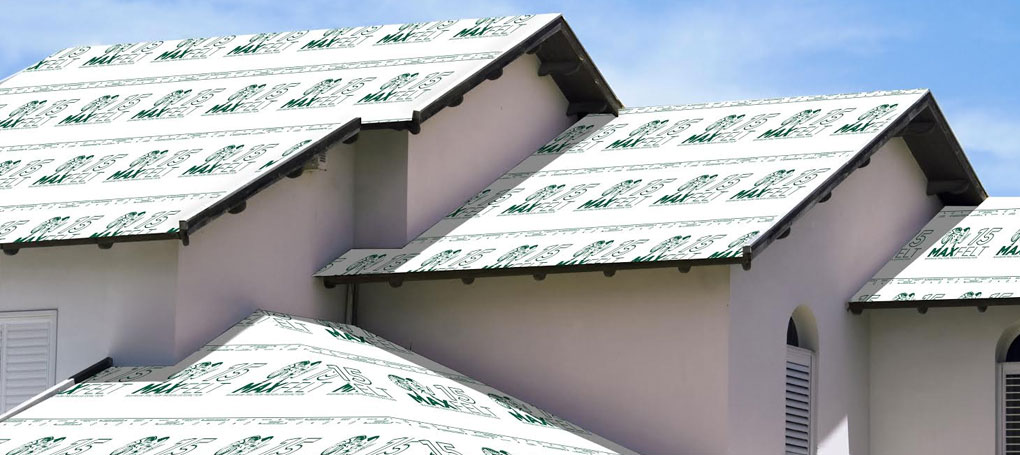
MaxFelt should be laid out parallel to the eave with the printed side facing up. Press out any wrinkles as you move horizontally across the roof deck “laying it out” and working toward the far end or valley. Attach to the roof deck using a minimum 1” diameter plastic or metal cap roof nail (ring shank preferred) as you go and proceed in 5 ft intervals to the far end. Over lap 4” at all horizontal laps. Overlap 12 inches at all end laps and fasten end laps 6 inches on center. End laps in succeeding course should be placed at least 6 feet from end laps in preceding course. Continue installing the rest of the MaxFelt in this fashion by overlapping the second row by 4 inches and work your way up the rest of the roof all the way to the ridge peak. Leave the ridge exposed and continue laying on the other side. When you reach the ridge, fold the MaxFelt over both sides (overlapping a minimum of 6 inches) and fasten it into position. If a ridge vent is used, please install according to the manufacturers recommended installation guidelines. Where the seams and joints require sealants or adhesive, it is recommended that a high quality, low solvent, asbestos free plastic roofing cement or adhesive/sealant that meets ASTM D-4586 Type 1, Federal Spec SS-153 Type 1 requirements also be used.
Installation for 4/12 pitch and above to be covered immediately:
As long as there is no high winds or rain and primary roofing is to be installed on the same day, MaxFelt can be anchored with staples, cap staples or corrosive resistant 3/8” head x 1” leg roofing nails (ring shank preferred). There is a possibility of blow offs and/or leakage around fasteners when using uncapped fasteners. Always check with applicable local building codes before using staples, cap staples or corrosive resistant 3/8” head x 1” leg roofing nails.
Low Slope Applications:
MaxFelt is not recommended for use on roofs with slopes less than 2:12. For slopes from 2:12 to 4:12, start by fastening a 36” course along the eaves with just enough fasteners to keep course in place. Then, apply a full width course, 48”, directly on top of 36” course. Overlap each successive course by 50%. Check with local building codes as additional fasteners could be required for low slope applications.
Valleys:
In all valley sections, PRIOR to applying MaxFelt, install a layer of approved flashing or water proof membrane (commonly referred to as “peel and stick”) and ensure that it is adhered properly and securely to the solid wood decking. DO NOT STRETCH at any time during installation. DO NOT leave air spaces or air pockets between the MaxFelt and the solid roof decking. Please follow all applicable local building codes.
OTHER IMPORTANT DETAILS:
- UV exposure limitations vary among products in the Max Roofing Products line of synthetic underlayments. Please check warranties at MAXFELT.COM or call 855-MAXFELT for details.
- Always apply MaxFelt and other flashing materials and membranes in shingle lap fashion where top layer overlaps bottom layer.
- All horizontal (head) overlaps should be a minimum 4 inches and all vertical (end) overlaps should be a minimum of 12 inches.
- Fasteners every 6 inches on center along the edges both vertically and horizontally and every 12 inches on center in the field areas.
- Fasteners must be long enough to penetrate into the sheathing a minimum of 3/4 inch (19.1mm) or through the sheathing, whichever is less.
- It is highly recommended that MaxFelt be fastened using corrosion-resistant ring shank roofing nails with 1-inch-diameter plastic or metal caps. Staples can also be used but WILL compromise MaxFelts weather and wind resistance capabilities. When using staples MaxFelt must be covered immediately.
- Prior to application of the underlayment, the roof deck surface must be dry and free of moisture, dust, dirt, loose nails, and other protrusions. Damage of any kind to the solid wood sheathing on the roof deck must be replaced.
- Installation must comply with the applicable local building code in your area.
- Installation of an approved roof covering must take place promptly following application of the MaxFelt. If left uncovered, approved sealants should be applied to all lap lines and button caps.
- Installation is limited to use with approved roof coverings that are mechanically fastened through the underlayment or battens to the solid sheathing roof deck or rafters.
- Installation of underlayment is limited to solid substrates complying with the applicable local building code.
- MaxFelt is a vapor and water barrier; therefore installation should ALWAYS be limited to roofs with properly ventilated attic spaces in accordance with the requirements of the applicable local building code.
- MaxFelt is intended for use as a secondary weather resistant barrier and layer of protection under the roof cladding. It is NOT to be used as a primary waterproofing membrane.
PRECAUTIONS & OTHER SAFETY CONSIDERATIONS:
- Always observe safe roofing practices and OSHA requirements.
- Use caution when walking or standing on MaxFelt. Moisture, dust, and dirt may make the surface slippery. Use proper safety gear and footwear at all times as serious injury or death can occur if avoided.
- Use properly secured roof jacks, toe boards, straps, and harnesses to prevent slippage when walking on roof deck.
- MaxFelt15 and MaxFeltNC can be used under asphalt shingles on slopes above 2:12.
- MaxFeltXT and MaxFeltTS can be used under asphalt shingles, synthetic shingles, metal roofing and cedar shakes provided the roof slope exceeds 2:12 for all applications.
- MaxFelt30 and MaxFelt180 can be used under asphalt shingles, synthetic shingles, metal roofing, cedar shakes and tile provided the roof slope exceeds 2:12 for all applications.
*Always consult the roofing manufacturer to confirm compatibility and compliance with their specific roofing system requirements.